NodeJS Project on Website sub-folder
NodeJS Project normally uses port 3000, but have you ever wondered that instead of sending your visitor to port 3000 on your server how about just putting it on a sub-folder of your website. This tutorial gives you knowledge on how to put your NodeJS project on a sub-folder link on your website.On this tutorial I used AMAZON EC2 Linux server, Windows 10 desktop, you also need putty as you SSH client in order to connect to AWS EC2 server
Connect to Server
Open your SSH client program and on my case I used Putty I already set my private key file with the AWS EC2 server to connect.

Create NodeJS Express Project
Go to your home folder to start creating a project.
cd /home/ec2-user/
We need express generator if you don't have installed on your server then run the this command below
npm install express-generator -g
Execute the command below to create an express skeleton for the project on the folder name "mysite"
express mysite --view="ejs"
The output might look like this below.
[ec2-user@ip-xxx-xx-xx-xxx ~]$ express mysite --view="ejs"

   create : mysite/
   create : mysite/public/
   create : mysite/public/javascripts/
   create : mysite/public/images/
   create : mysite/public/stylesheets/
   create : mysite/public/stylesheets/style.css
   create : mysite/routes/
   create : mysite/routes/index.js
   create : mysite/routes/users.js
   create : mysite/views/
   create : mysite/views/error.ejs
   create : mysite/views/index.ejs
   create : mysite/app.js
   create : mysite/package.json
   create : mysite/bin/
   create : mysite/bin/www

   change directory:
     $ cd mysite

   install dependencies:
     $ npm install

   run the app:
     $ DEBUG=mysite:* npm start
Go to the newly created folder and install Nodes dependencies
cd mysite
npm install
Thats it! you've created your simple NodeJS site, now start your site by using the command below
npm start
You might see something like this below on the console, that means your NodeJS server is now active
> [email protected] start
> node ./bin/www
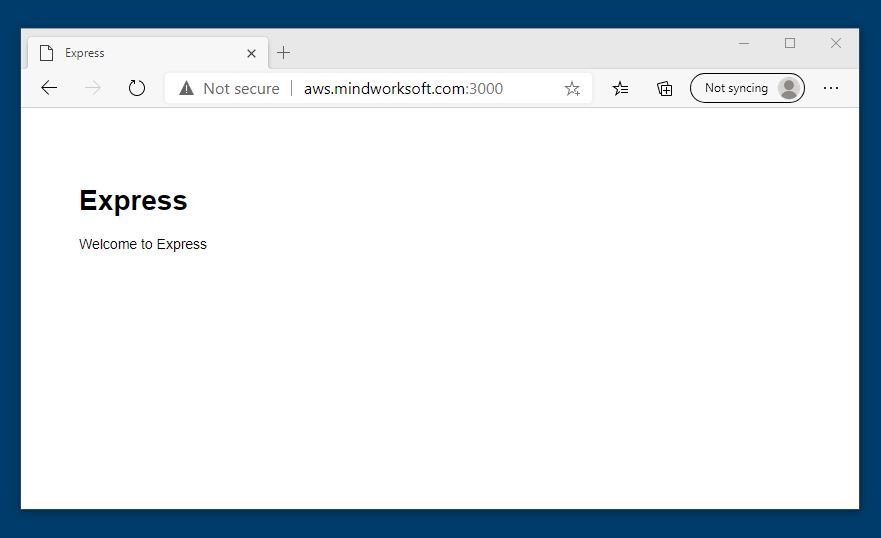
Now go to your browser and open your NodeJS site, you can directly access it by using the IP address like http://ip-address:3000 yes that on the port 3000, on my case I already setup my ip address on my Cloudflare so I can use my domain name.

Now we need to get rid of that port 3000 on the URL address so back to our console, now we will install NginX
sudo yum install nginx
Edit the nginx configuration file in /etc/nginx/nginx.conf this will allow you to set a proxy pass so the NginX will accommodate a user on the specified folder path and route the request to port 3000 internally.
sudo nano /etc/nginx/nginx.conf
On the nginx.conf file find the "server { " line and below that you can setup a path for your NodeJS URL , here below the partial content of nginx.conf and I color the text red which I added.
    server {
        listen       80 default_server;
        listen       [::]:80 default_server;
        server_name  _;
        root         /usr/share/nginx/html;

        # Load configuration files for the default server block.
        include /etc/nginx/default.d/*.conf;

        location /mysite {
                return 302 /mysite/;
        }

        location /mysite/ {
         proxy_pass "http://localhost:3000/";
         proxy_http_version 1.1;
         proxy_set_header Upgrade $http_upgrade;
         proxy_set_header Connection 'upgrade';
         proxy_set_header Host $host;
         proxy_cache_bypass $http_upgrade;
        }


        #location / {
        #}

        error_page 404 /404.html;
        location = /404.html {
        }

        error_page 500 502 503 504 /50x.html;
        location = /50x.html {
        }
    }
sudo service nginx restart

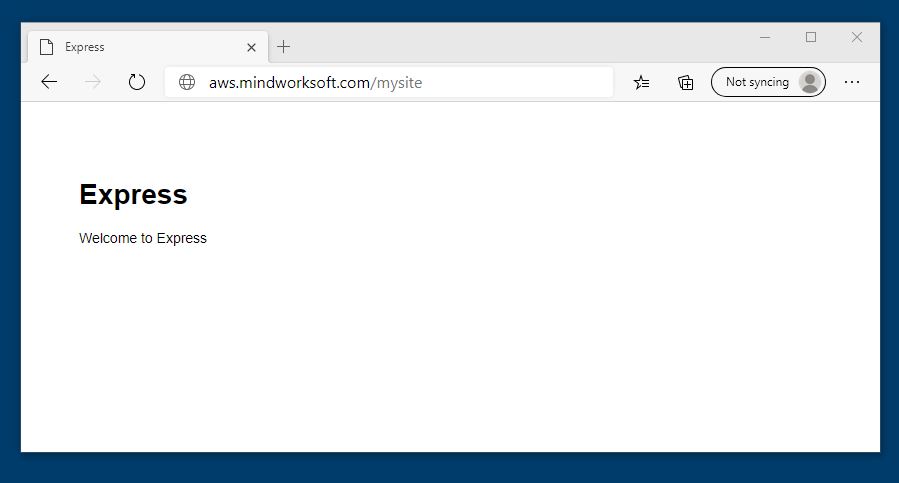
Thats it! now you can have your NodeJS project on the sub-folder of your website,
This concludes my tutorial on putting your NodeJS project on your website sub-folder which is normally in port 80.
Dards Minds
Author of Mindworksoft.com, Full-stack developer, interested in media streaming, automation, photography, AI, and digital electronics.
